HOW TO INSTALL (AND REMOVE) YOUR DOOR BUDDY DOOR STRAP FOR PETS
So, you’ve heard that Door Buddy offers a no-tool installation and now you’re wondering how to get our adjustable strap up. Huh?
Or, you just love your Door Buddy so much that you can’t bear the thought of living without it! How do you remove it safely and bring it with you to your new digs?
If you haven’t made it over to our installation page, then this blog post is for you. Here you will find our various installation methods and our recommended removal tips.
For those with stronger-willed doggos, we’ll even show you how you can install your Door Buddy to withstand a more motivating push.
HOW TO INSTALL YOUR DOOR BUDDY
Would you believe us if we said that there are several different ways to install your Door Buddy? In this post we will highlight the most popular three!
The thing is that we understand that every furmily is different and so are their doors. Some open inwards, some open outwards, and some are just plain weird. Whatever your entryway situation is, we’ll do our best to provide you with the best solution.
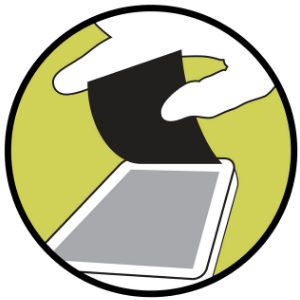
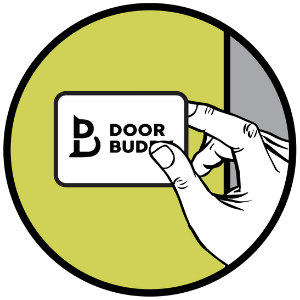
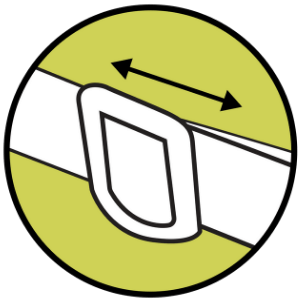
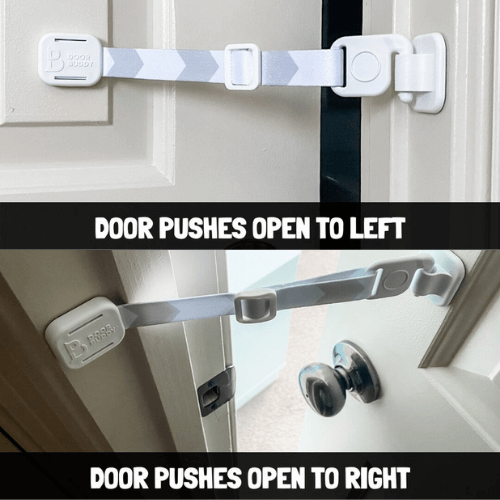
But, before we dive into that, let’s cover the basics. Below, you will find the 4 easy steps needed to put your Door Buddy in action.
We always recommend avoiding drywall and always let the adhesive cure for at least 24 hours. Please, trust us - we want a safer home for your babies just as much as you do and we want to keep any potential paint damage to a minimum!
Method One: Basic
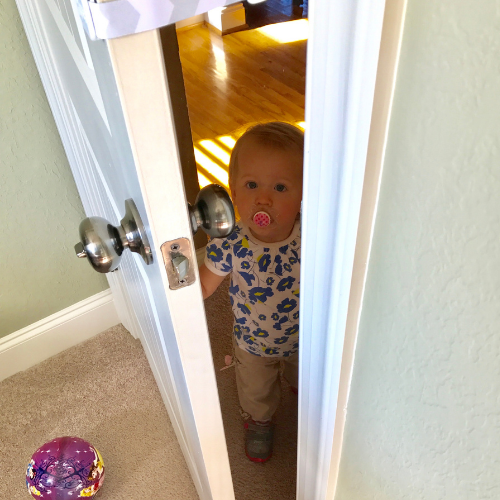
We like to think of people who install their Door Buddy’s with this method as our inspiration. Please, tell us your secrets - how did you get such a well-mannered dog? Is your baby newly crawling? Can we hire you to train our dogs and toddler?
(Seriously, our marketing manager could use help with her rambunctious toddler and persistent dachshunds.)
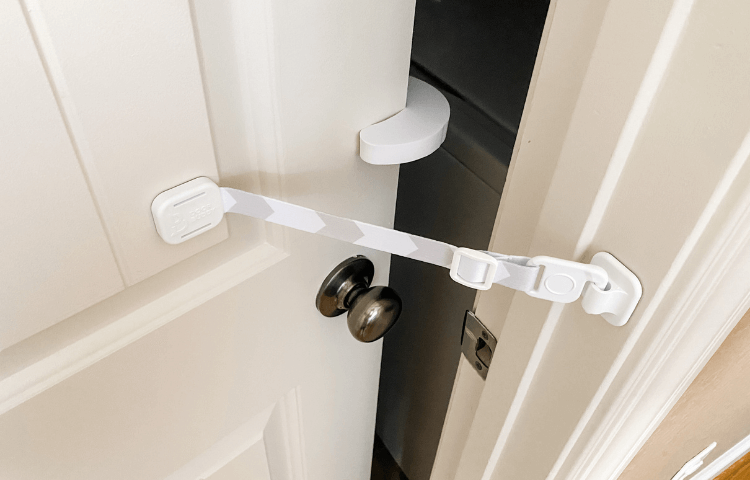
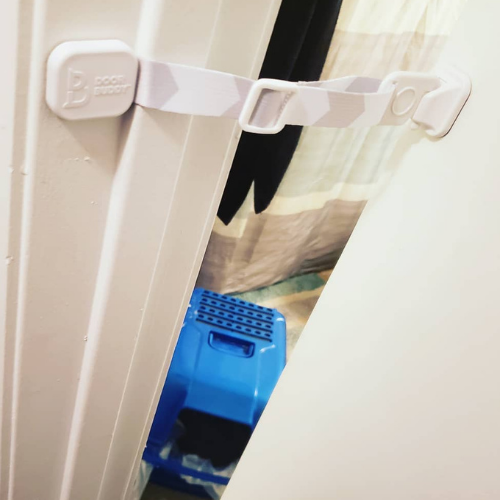
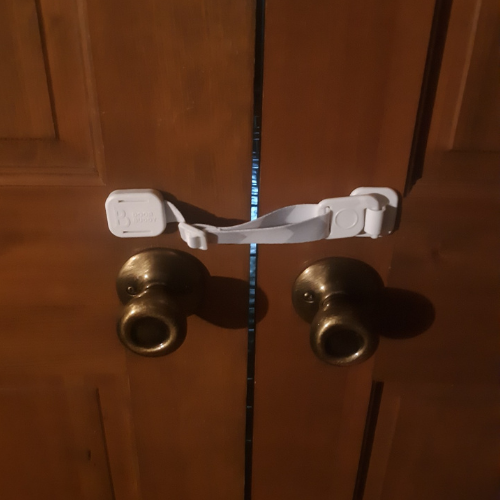
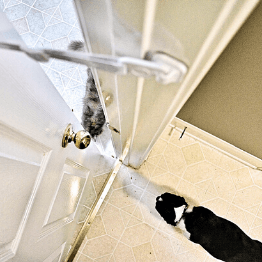
This is your simple door frame-to-door attachment. We’ve found that this method is best for a door where you want to install Door Buddy on the front of a door that pushes open inward.
No-fuss, no mess - a happier home in seconds.
Method Two: Back of Door
This method works best for doggos who know what they want and aren’t afraid to politely ask for it from their superior fursibling. It also works wonders for babies who are starting to understand their strength. In other words, if you’re looking for a medium force, this is it.
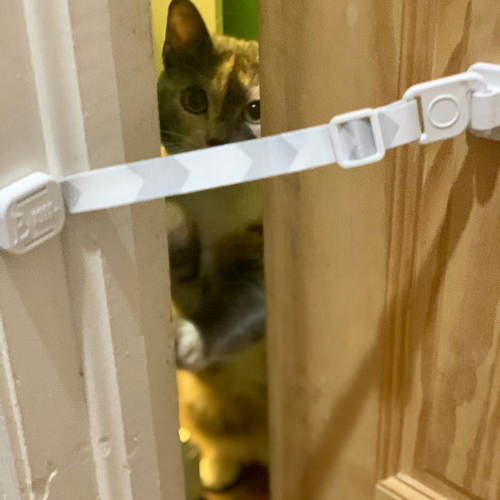
What we really like about this method is that it ensures a stronger hold by allowing the adhesives to take on more pressure. Plus, you’re still able to easily adjust the strap to suit your cat’s width.
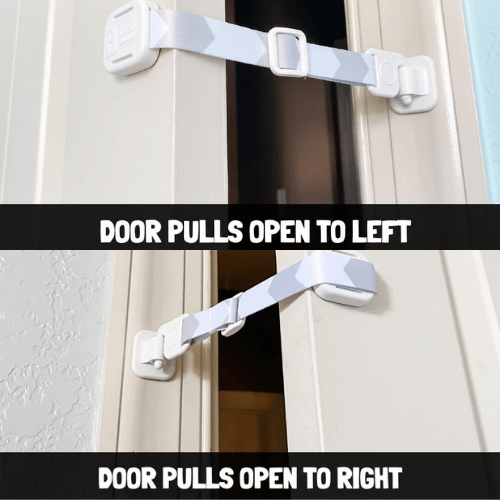
Here’s what you need to do: instead of a basic side-to-side, you will want to place your strap adhesive on the back of the door.
Remember, please place the latch adhesive on the door frame and NOT on drywall.
If you have a door that pulls open to the right and need more space adjustability for your cat, try our reversed strap here.
Method Three: Back of Door & Inside of Door Frame
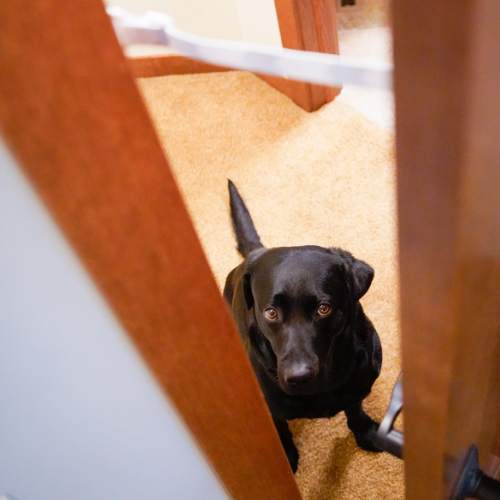
If you’re reading this blog post and thinking “yeah, yeah, yeah, get to the method that’s going to keep my 100lbs dog out”, this is it.
Toddler tantrums have your little one turning into the hulk? This will work too.
One thing to note here is that, un-fur-tunately, it will make your strap the least adjustable.
Before installing your Door Buddy, please make sure that it’s set to suit your cat’s width.
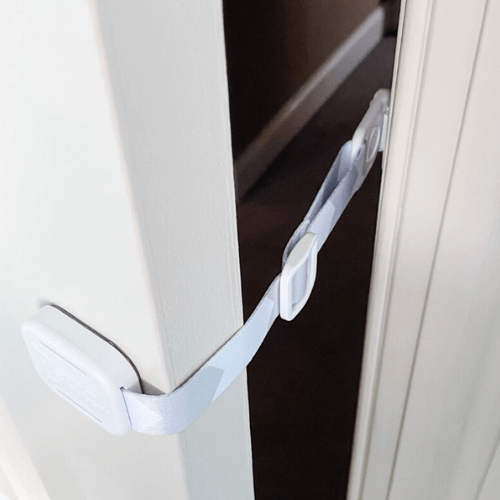
Just as the name suggests, you will need to install your strap adhesive on the back of your door. In addition, you will need to stick the latch adhesive on the inside of your door frame (not drywall).
The image above will help you get a good sense of how this will work. Again, if you have a door that pulls open to the right and need more space for your cat, try our reversed strap here.
HOW TO INSTALL THE DOOR BUDDY DOOR STOPPER
The beauty of our foam door stopper is that it’s a non-permanent way of protecting your doors. You can move it around your home as you need to.
For the toddler parents, our biggest tip would be to place it up high on your door to keep it out of reach. This will also make it less fiddly when you maneuver the door.
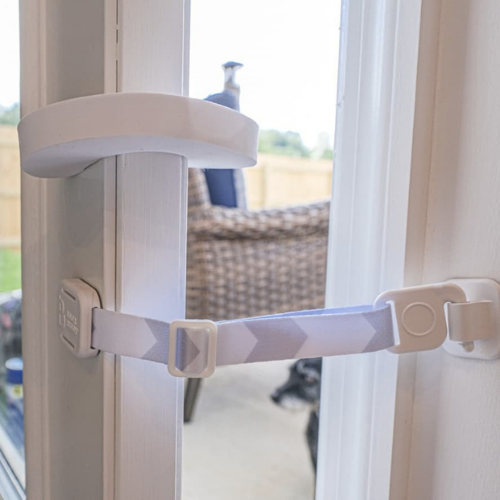
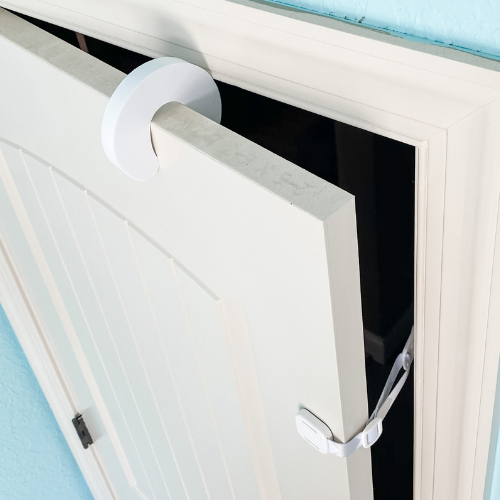
Our favorite way to use the door stopper is on top of the door. Doing this will help you match the gap set by the strap to increase stability and minimize the movement of the door while keeping it open. Not sure what we mean? See the image below to illustrate.
Another way to place your door stopper is slightly higher than your strap placement. This makes it easy for you to remove the stopper if you need to close the door.
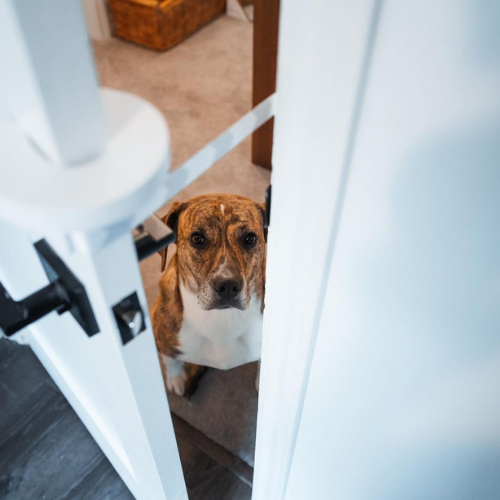
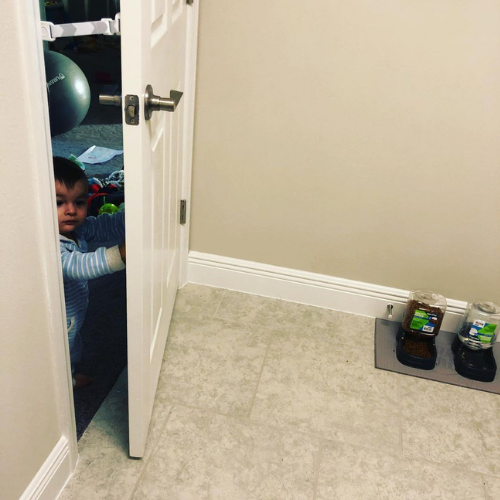
SEE HOW OUR CUSTOMERS INSTALL THEIR DOOR BUDDY
HOW TO REMOVE YOUR DOOR BUDDY CORRECTLY
When we created The Door Buddy, we knew that we wanted to create a product that did two things. We wanted to reduce the amount of damage we inflict in our home in the name of safety, and create a product that can be moved as needed.
Renters, we’re looking at you!
With that being said, we do understand the urge to just rip it off and call it a day. Like most things in life, good things take time.
If you’d like to minimize the potential damage our super strong adhesives may cause, please follow these steps:
Soften the glue with a hairdryer (at least 3-5 minutes)
Use dental floss or fishing line and slide side to side between the adhesive and plastic until separated.
Rub any leftover adhesive with your finger to remove it from your door
When you decide to put your Door Buddy back, you can purchase our replacement adhesives to get it back in action.
MORE DOOR BUDDY INSTALLATION TOP TIPS:
At The Door Buddy, we place a lot of importance on making our customers happy. A happy customer is a happy customer service manager!
For that reason, we recommend taking the following points into consideration:
Clean and dry the surface well before mounting the adhesives.
Know exactly where you’d like to put your Door Buddy, moving the adhesives often will reduce its effectiveness.
Only install on your door and door frame. Again, please do NOT install on your wall or drywall. Pretty please.
If you are concerned about paint damage, you can try our paint protection film here.
That’s it! Unlike a baby gate or cat door, there isn’t much to get your Door Buddy up and running. Plus, you don’t have to worry about dragging out the toolkit.
If you do have any pawblems or concerns, our team is always here to help you. Just pop us an email at cs@thedoorbuddy.com or send us a message in the box below, and we’ll get back to you as soon as we can.

