DOOR BUDDY DOOR STRAP
INSTALLATION GUIDE
Door Buddy products are designed to make life simpler for you and your cat.
We realize that no two households are exactly alike.
Door types, door handles, door materials, and door finishes all vary so much. Plus, the size, shape, and temperament of your cat, dog, or baby will definitely be unique to you as well.
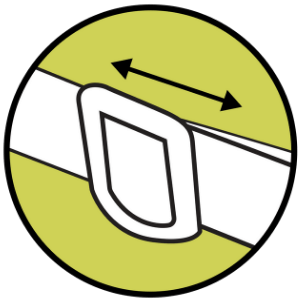
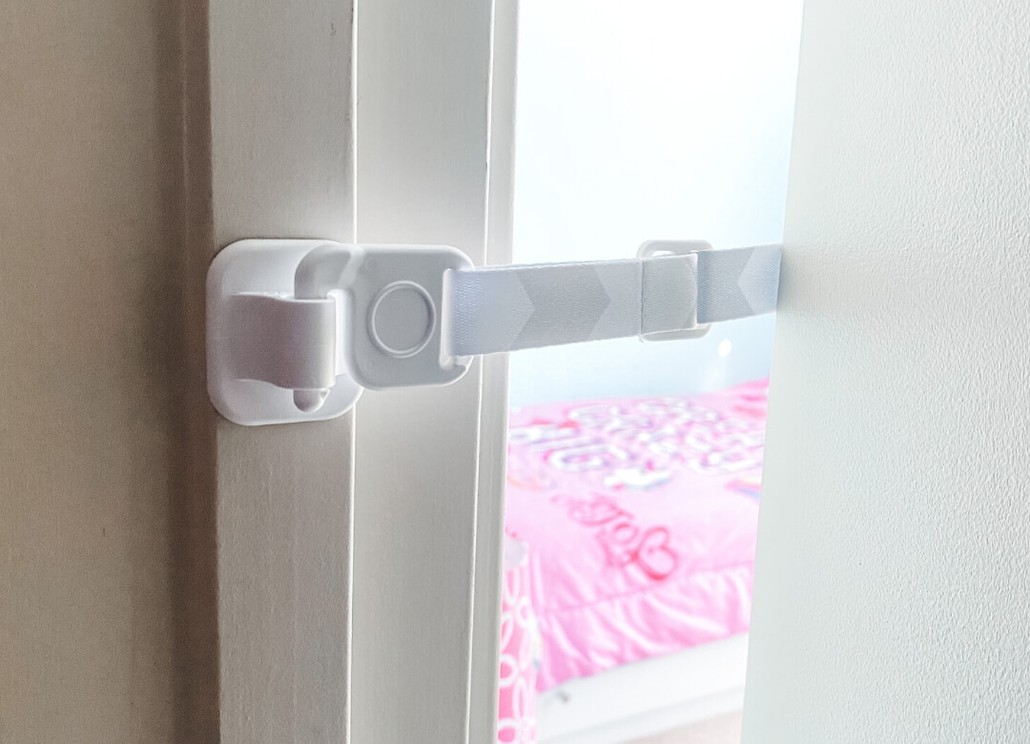
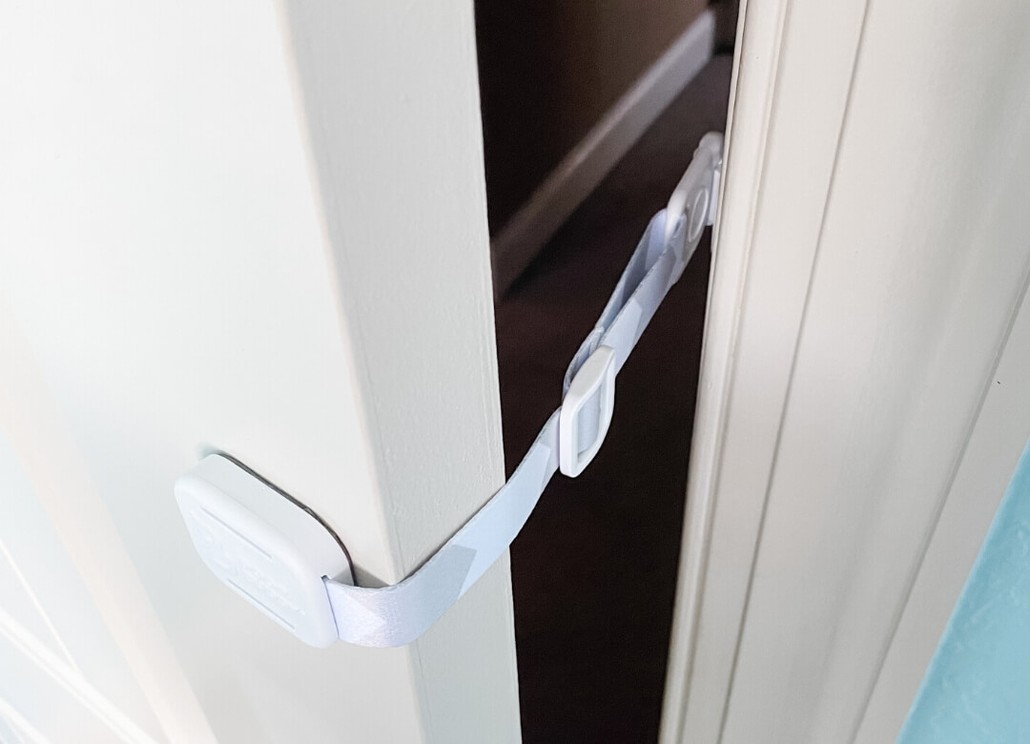
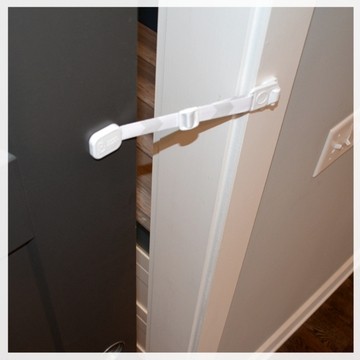
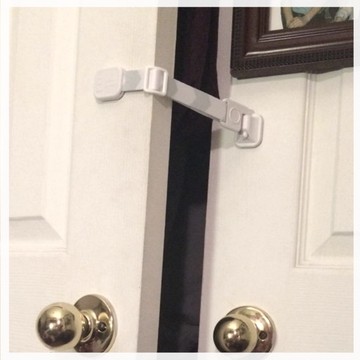
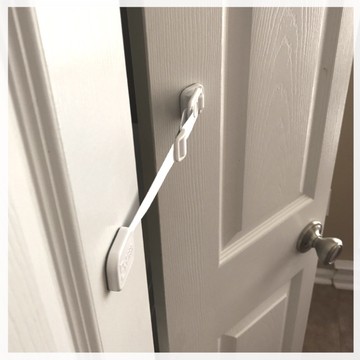
But, that is exactly why we chose Door Buddy Door Strap's particular design. The adjustability of the strap and the adhesives on the plastic parts give you the flexibility to install it the way that will best suit your needs.
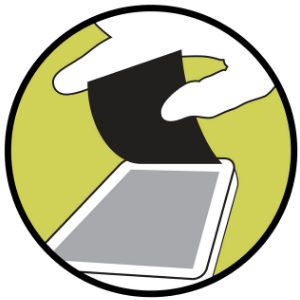
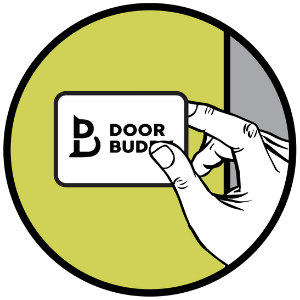
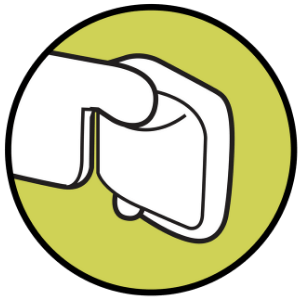
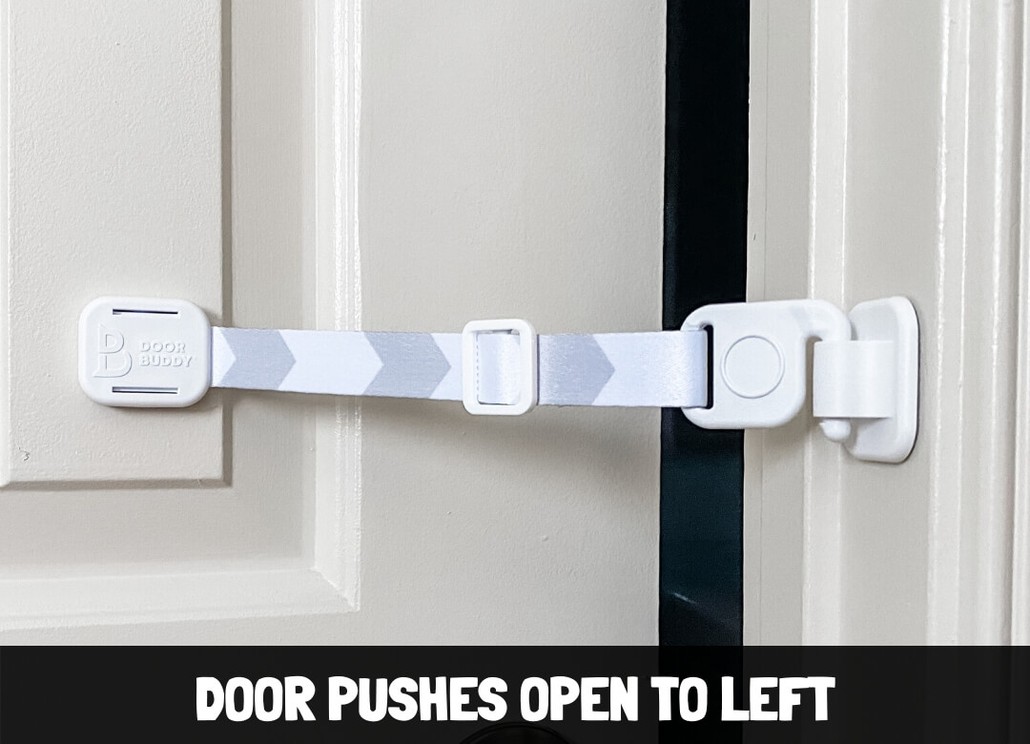
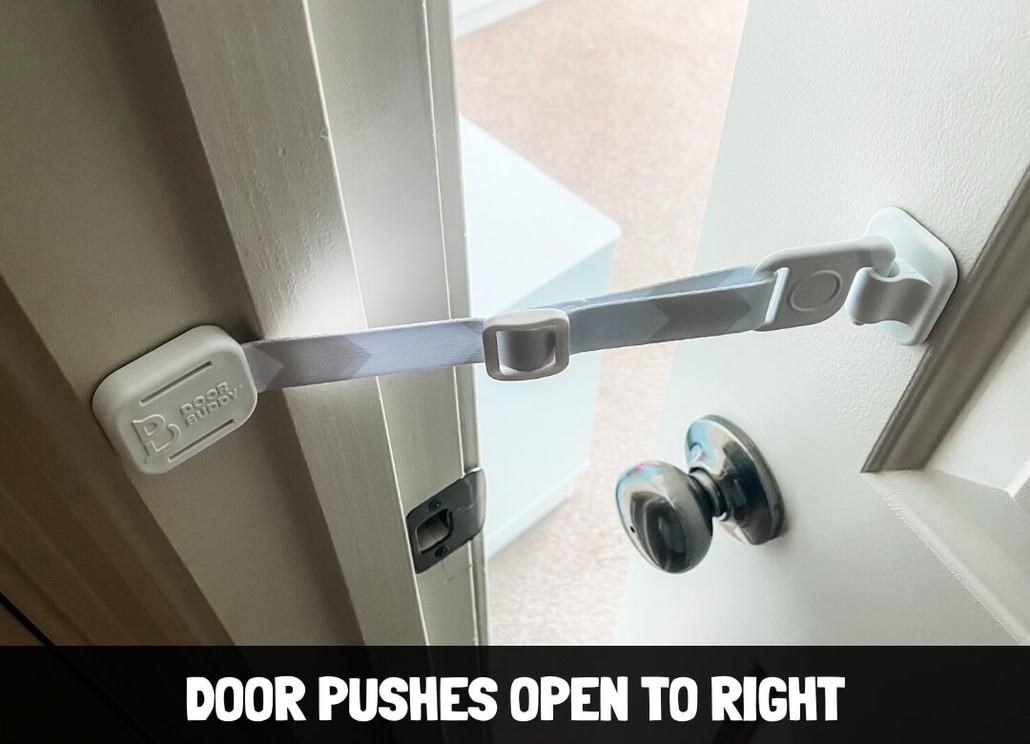
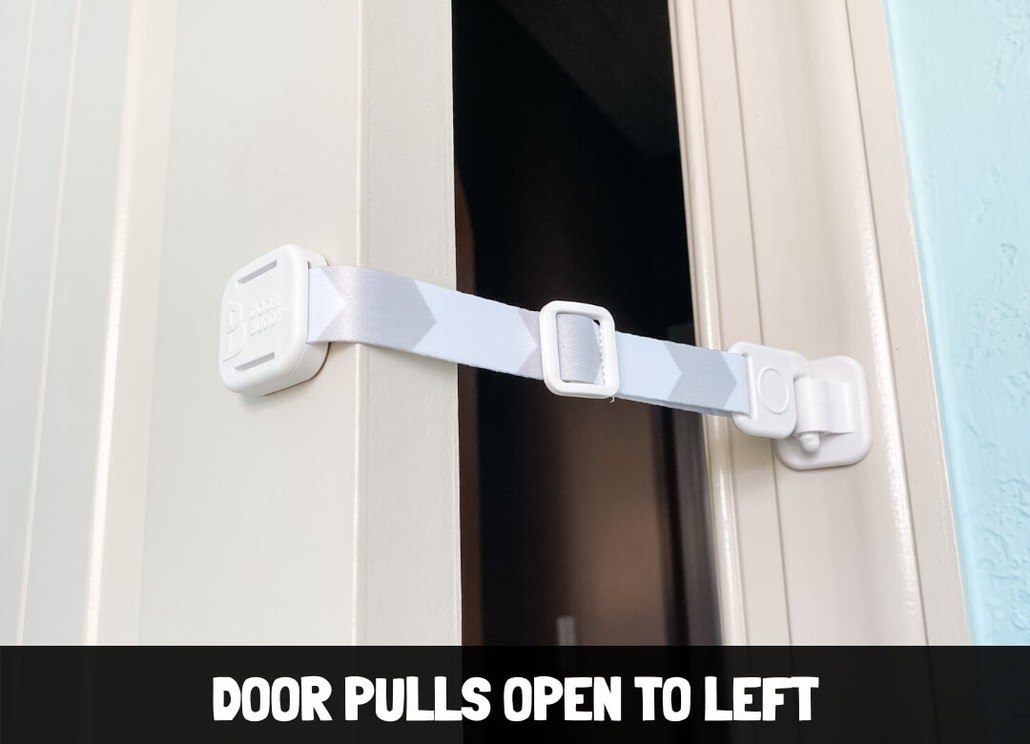
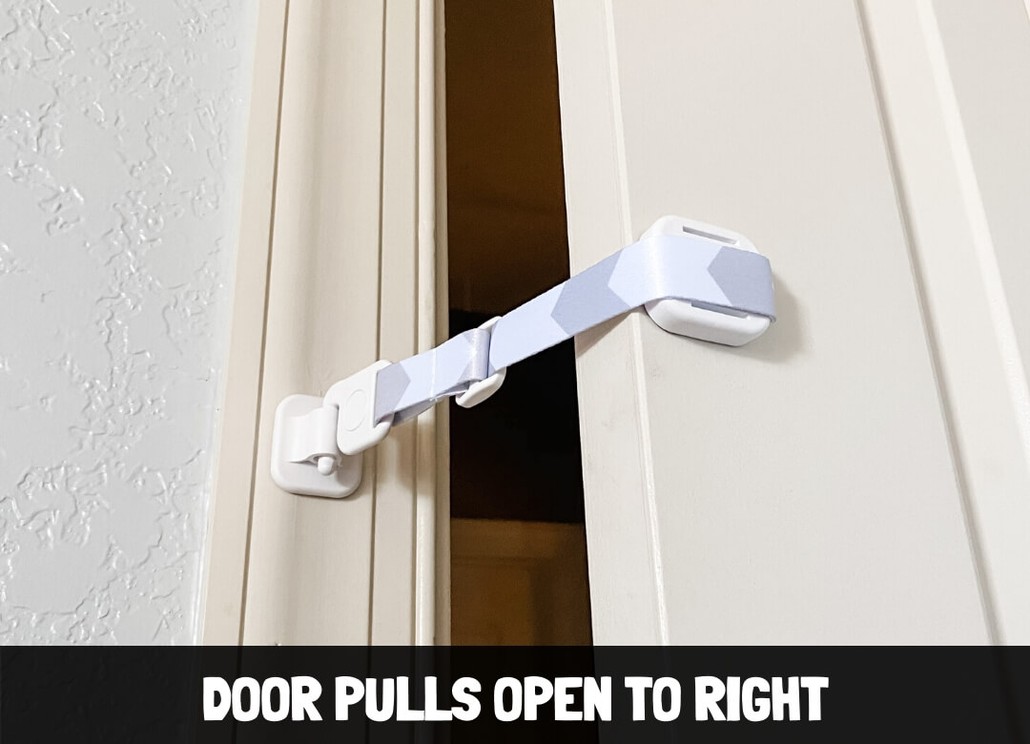
Below we have put together the basic installation steps as well as a few alternative installation methods as a guide to help you determine the method that best represents your situation.
INSTALLATION STEPS
VARIOUS INSTALLATION METHODS
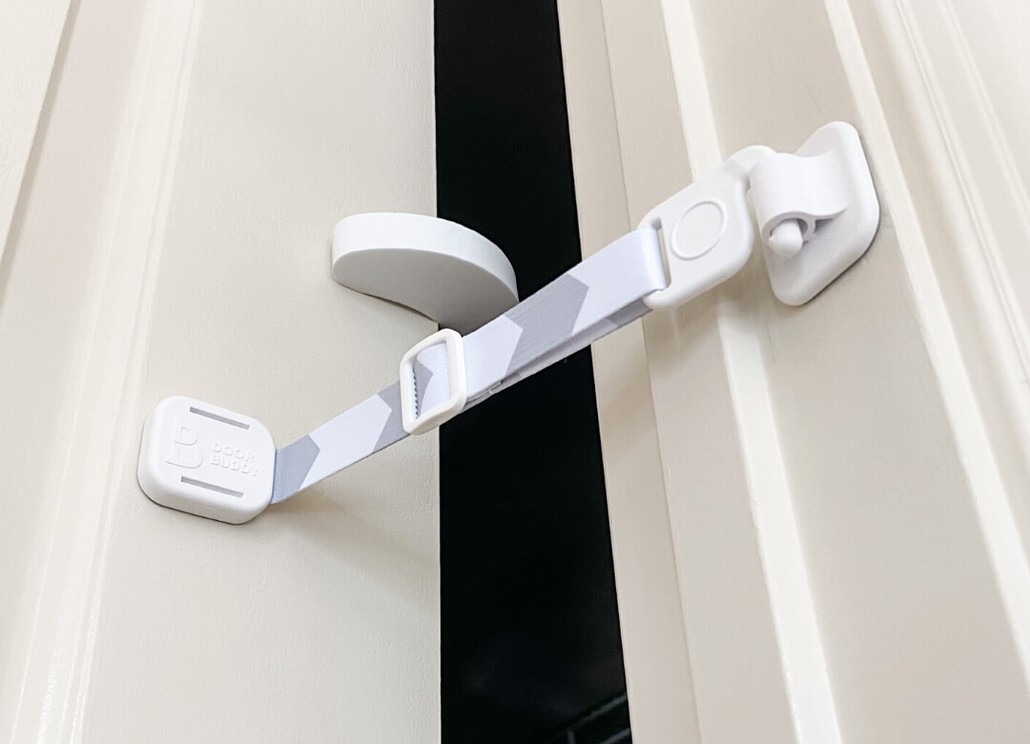
4. Door Buddy With Door Stopper
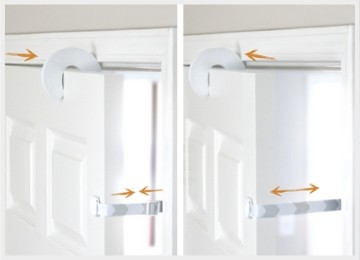
Pair Door Buddy with the Door Stopper in our Combo Pack to not only protect little fingers but also to prevent the door from closing & leaving your cat locked in a room
DOOR BUDDY DOOR STRAP
WORKS WITH ANY INTERIOR DOOR TYPE
IMPORTANT NOTES
Clean the surface well and allow it to fully dry before mounting the adhesives.
Plan ahead and be sure you know exactly where you want to place the parts, keeping in mind that the location you decide to mount each part will determine the minimum and maximum width of the door opening.
Install on your door and door frame only. Do NOT install on your wall.
Let the adhesive cure for at least 24 - 72 hours for maximum strength.
For best success, install on the back of door (method 3). This will place the least amount of pressure on the adhesives.
Please remember that at the end of the day it is only adhesive. We have found that the Door Buddy Door Strap works best when you are also proactive by discouraging your baby or dog from continually pushing on the door.
Most of the time they will lose interest and leave that room alone while you and your cat still have easy, quick and convenient access to the room.
How to Remove the Door Buddy Door Strap:
To prepare for the removal, heat the adhesive with a hairdryer for several minutes to soften the glue. You can then use your hand and twist the plastic part clockwise or counterclockwise so that the plastic part separates itself from the adhesive that is still attached to the actual surface. Once the plastic is separated from the adhesive you simply take your fingertip and roll the adhesive into a ball and remove it from the surface.
Alternatively, after heating the adhesive you can use fishing line or dental floss to slide side to side between the adhesive and the door/door frame surface. This works really well to remove without any damage.

